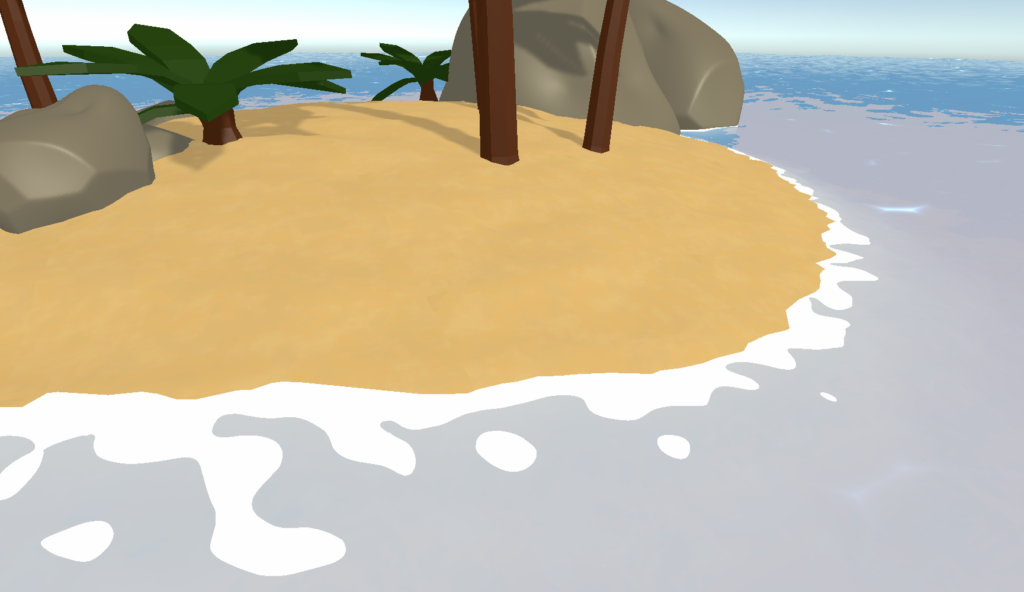
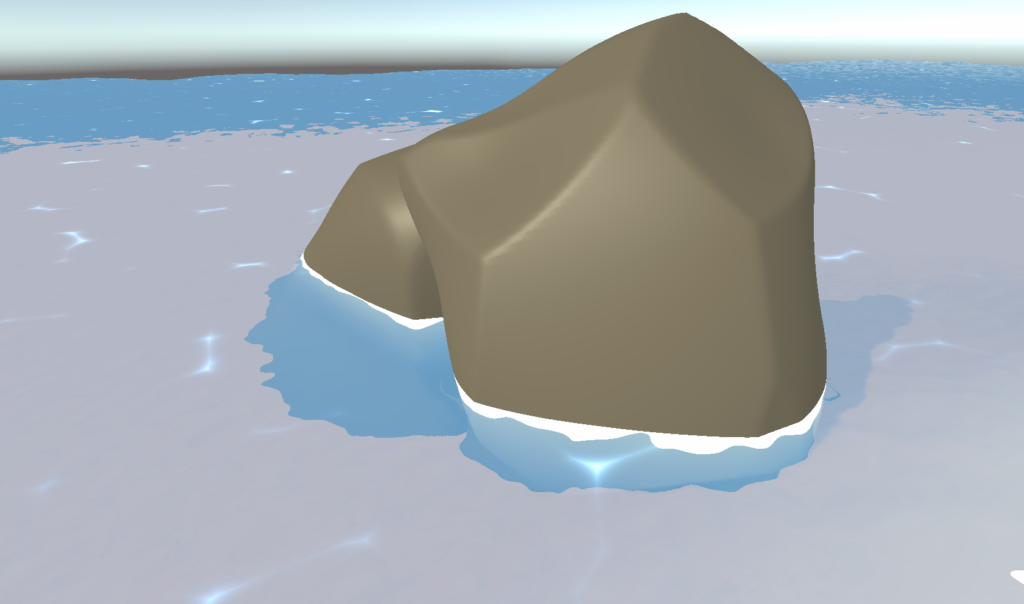
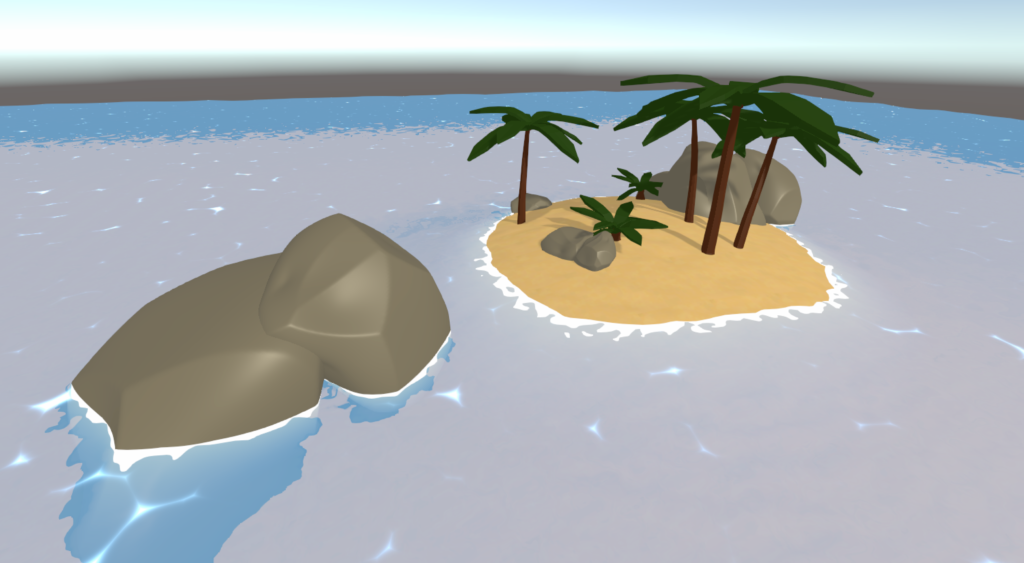
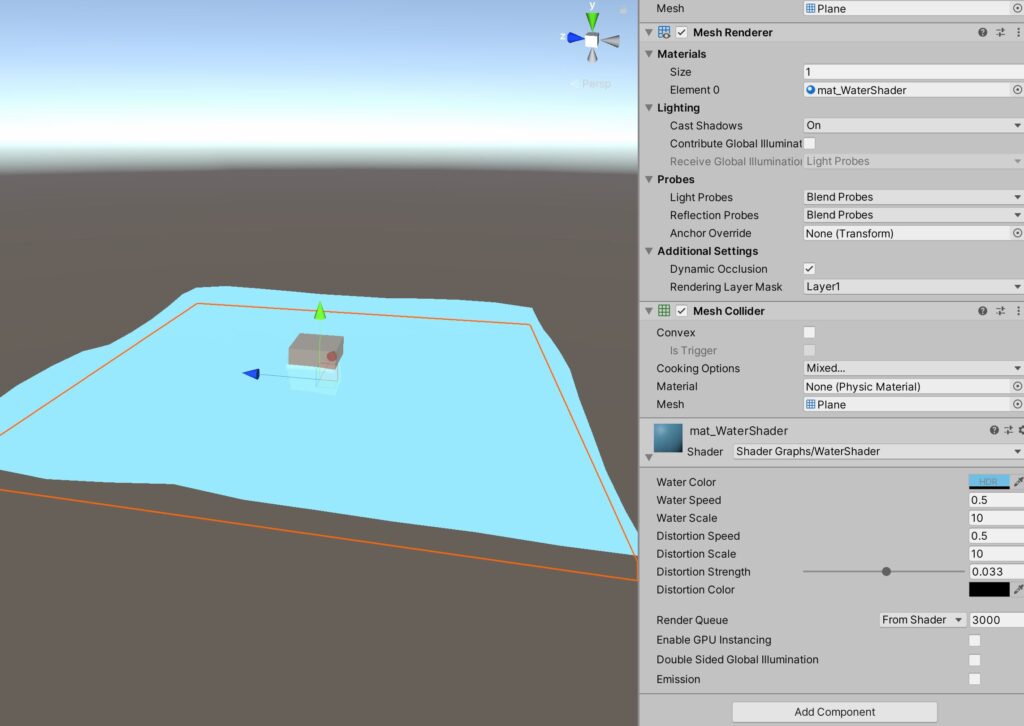
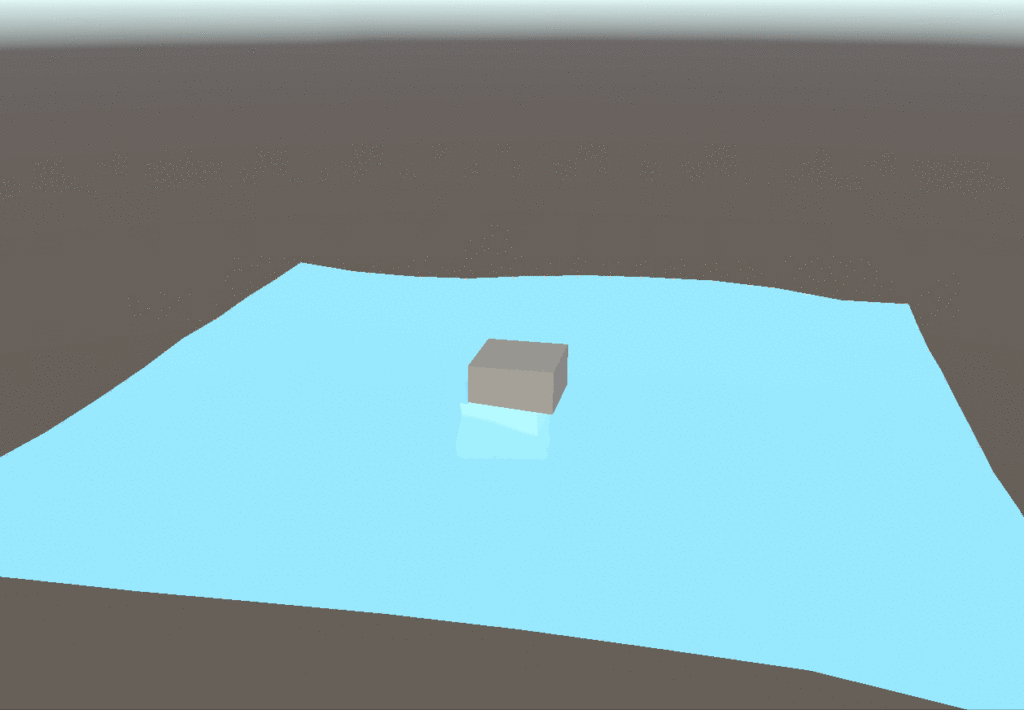
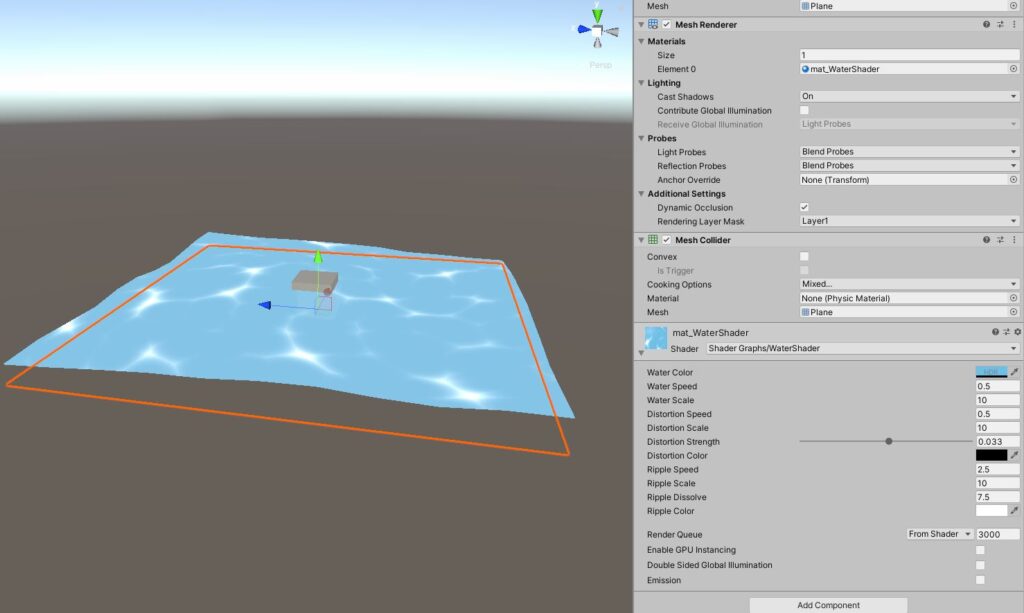
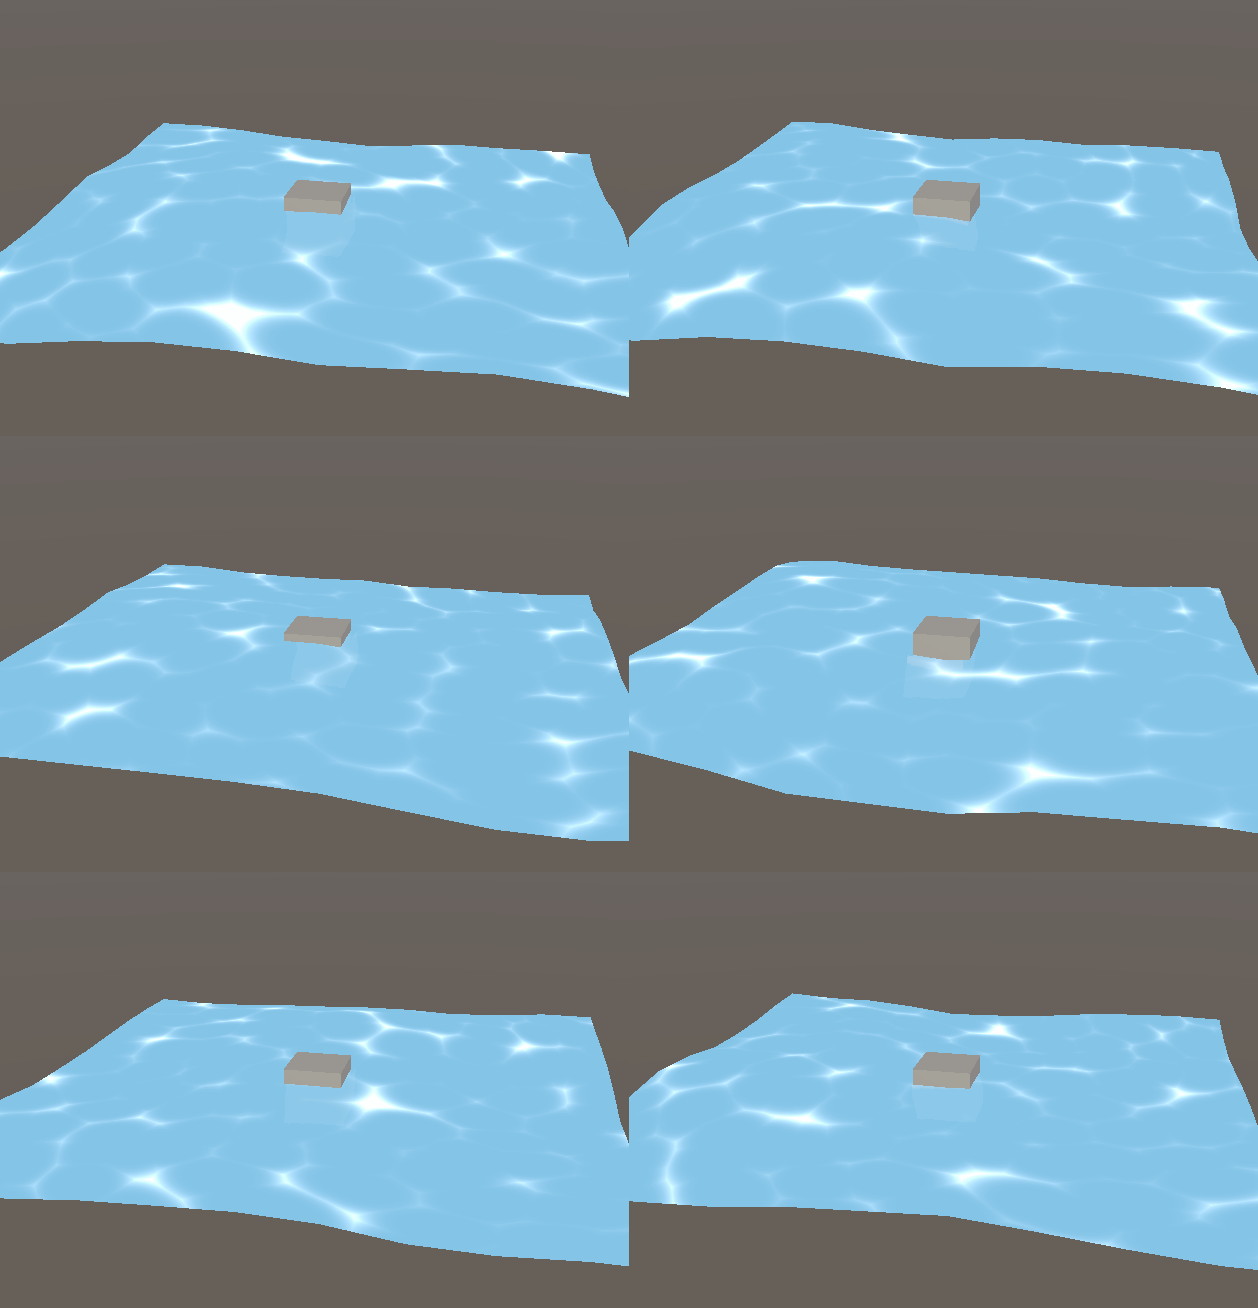
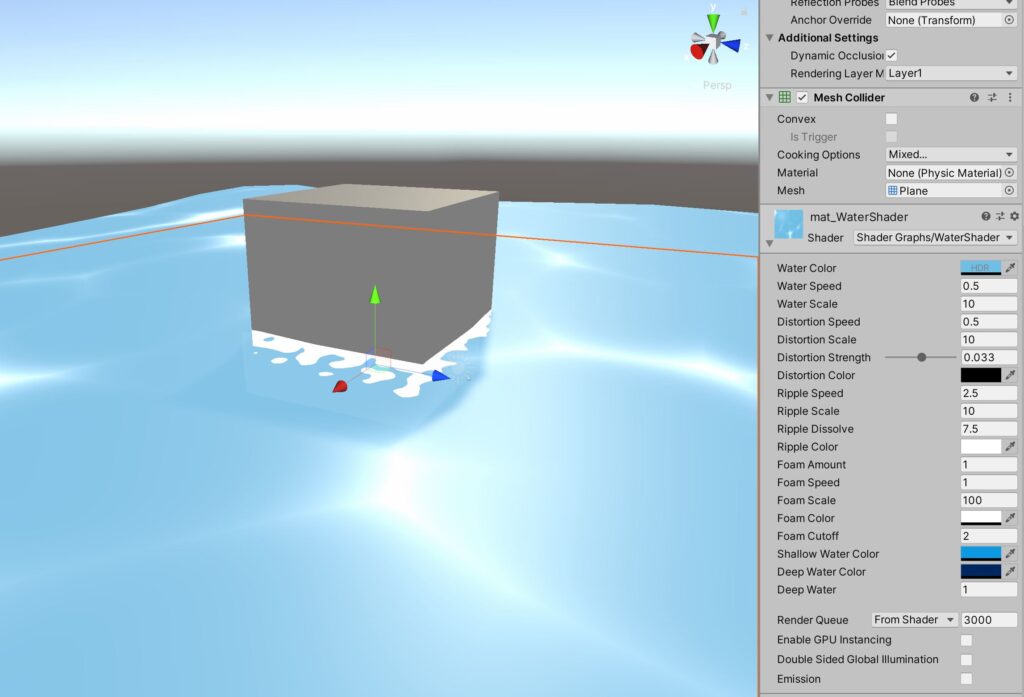
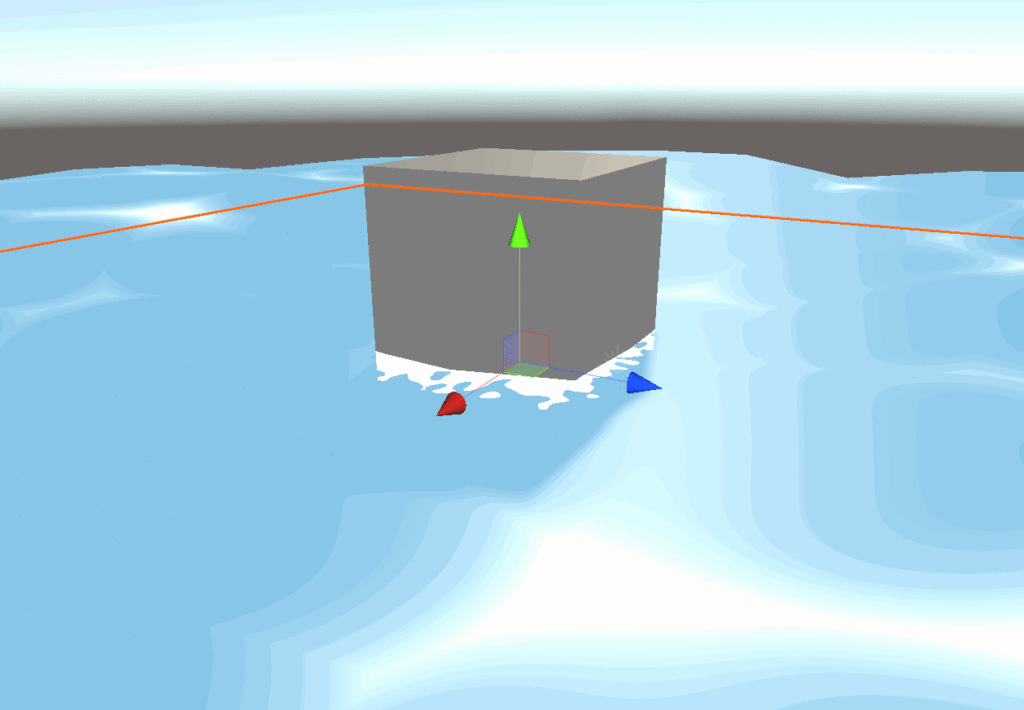
In this tutorial, you will be able to obtain a simple water effect in Unity with the Shader graph.
Speedy square is now available on Google Play
I will assume that you have knowledges with Shader Graph in Unity. I will explain in small lines what are the default settings and show you directly the graph with the result.
In result, this tutorial will be super easy to read and to understand. I hope 🙂 .
And yeah… Sorry but the english is not my mothertongue
You will be able to create a simple Shader water effect with :
- Wave
- Distortion
- Ripples
- Foam
Installation and settings
Before going through the Shade Graph, you need to install packages and configure files.
Packages installation
First, in the Package Manager (Windows -> Package Manager), you need to install :
- Shader Graph
- Lightweight RP
Universal Render Pipeline and Project Settings
In the Project Windows, you need to create a new Universal Render Pipeline by right click and Create -> Rendering -> Universal Render Pipe -> Pipeline Asset (Forward Rendered)
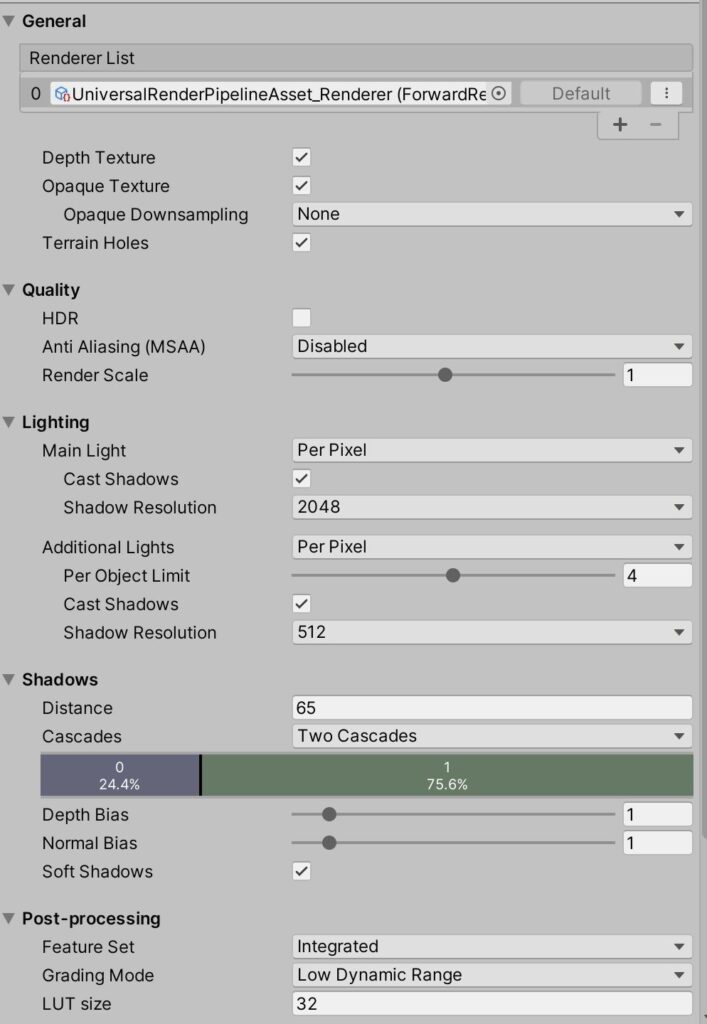
Click on this fresh new file UniversalRenderPipelineAsset and activate the parameter Opaque Texture
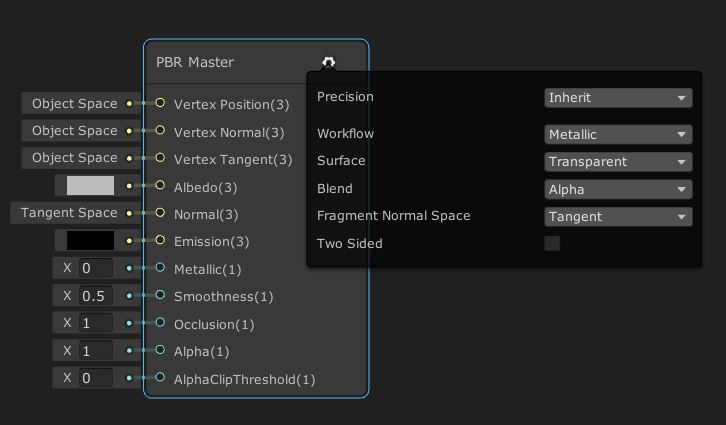
This image will show you my current settings for this project
After that, go to Edit -> Projects Settings. Click on Graphics and add your UniversalRenderPipelineAsset file.
Shader Graph File, material and plane
In the Project Windows, create a new Shader Graph :
- Right click then Create -> Shader -> PBR Graph. Name it like WaterShader
- Create the material by clicking on the file WaterShader and name it mat_WaterShader.
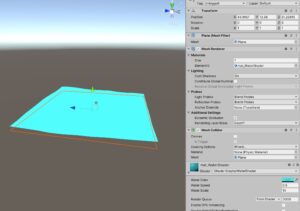
- Add a plane on your scene with the material mat_WaterShader.
Waves
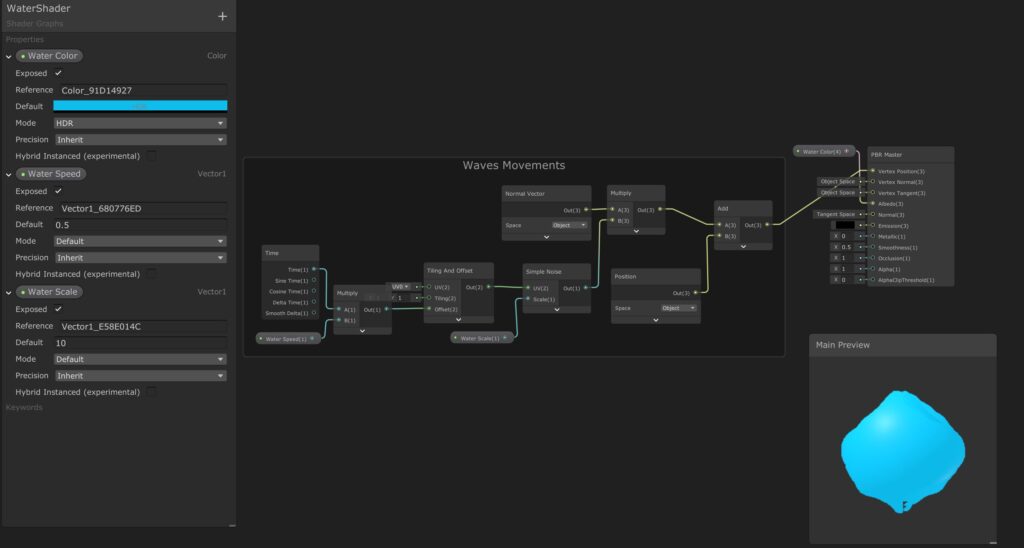
Here is the first graph for the waves. Play with the settings and get the result you want.
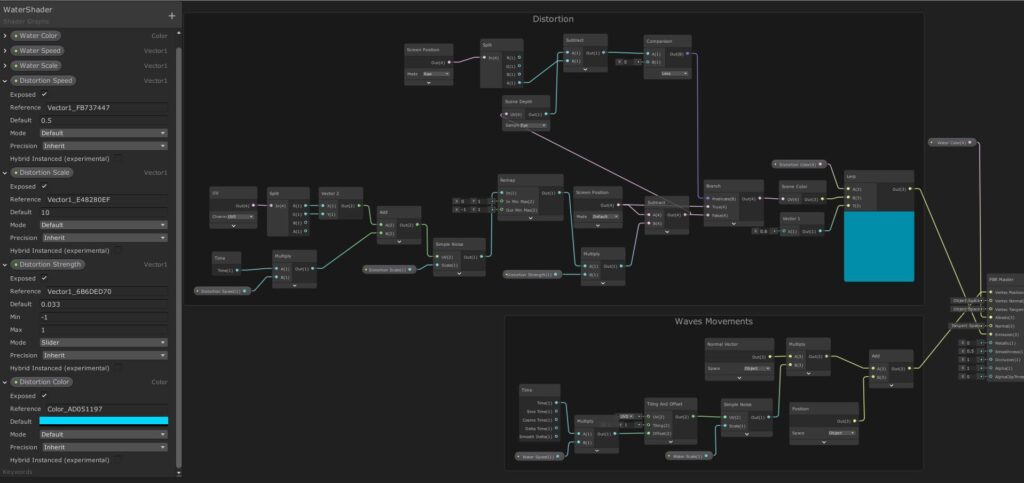
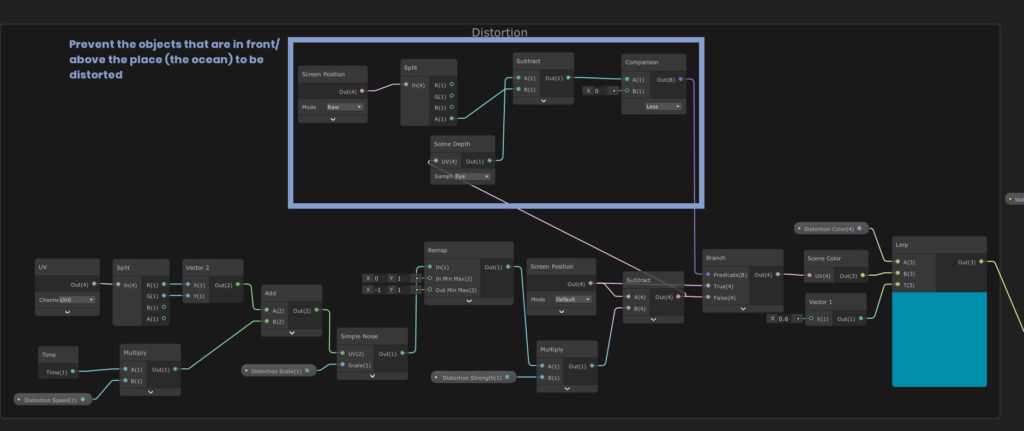
Distortion
And here is the graph for the distortion. Don’t forget to set your own values for the settings
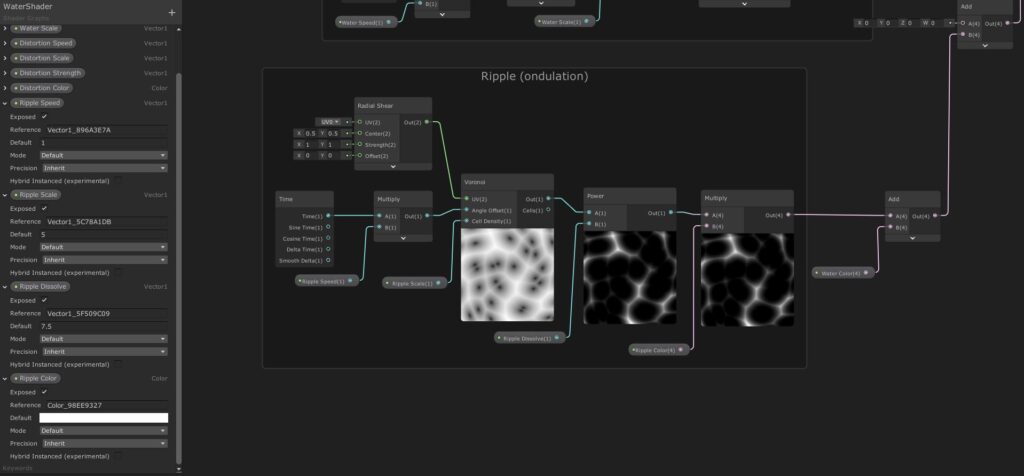
Ripple
In this step, you will need to adapt some nodes. First, here are the nodes for the ripple:
Be careful with this step. You need to set new nodes and change the placement of the « Water Color » node :
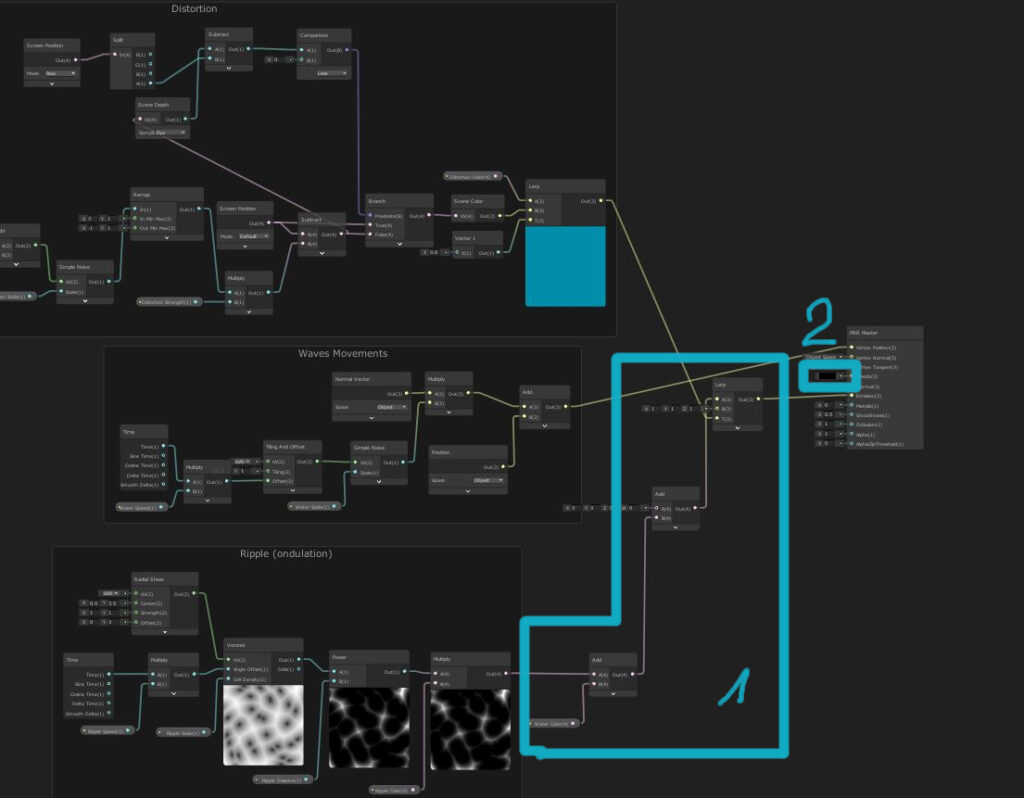
In the second blue square (2) : Set the color to black AND place the « Water Color » node at the output of the ripple (square 1)
Foam
For this part, you will need to check where is the shallow and deep water to check how to diffuse your foam :
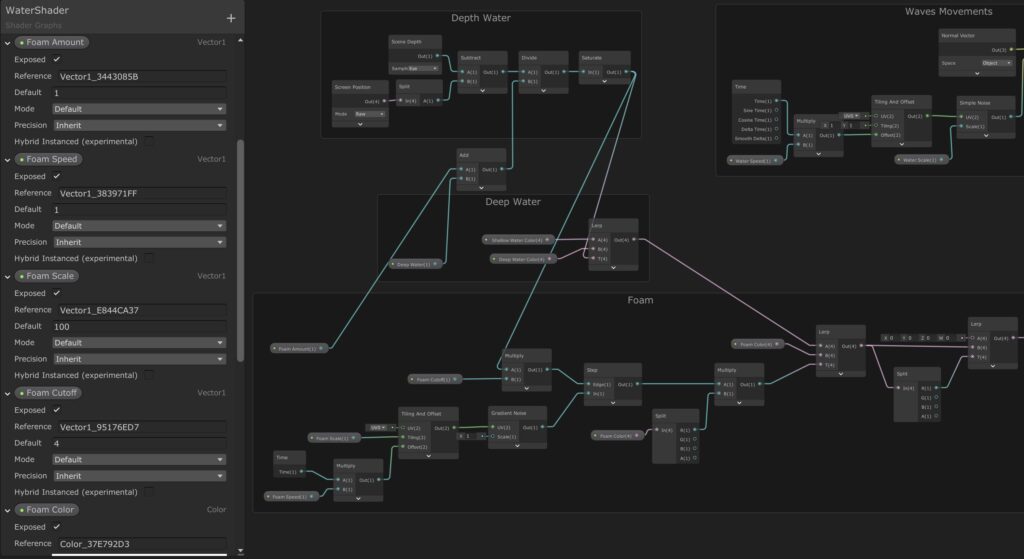
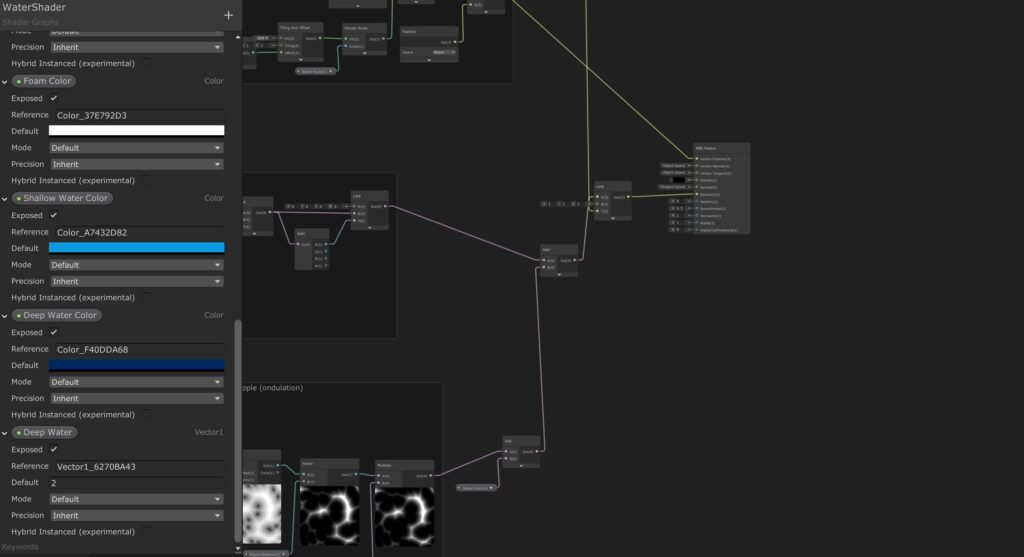
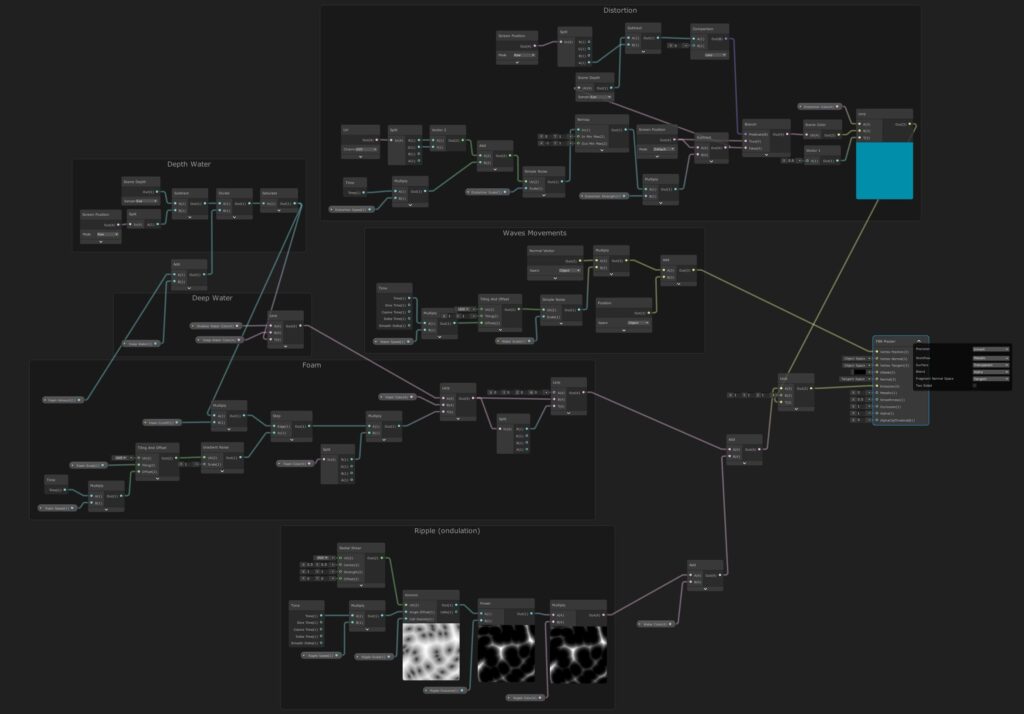
Result
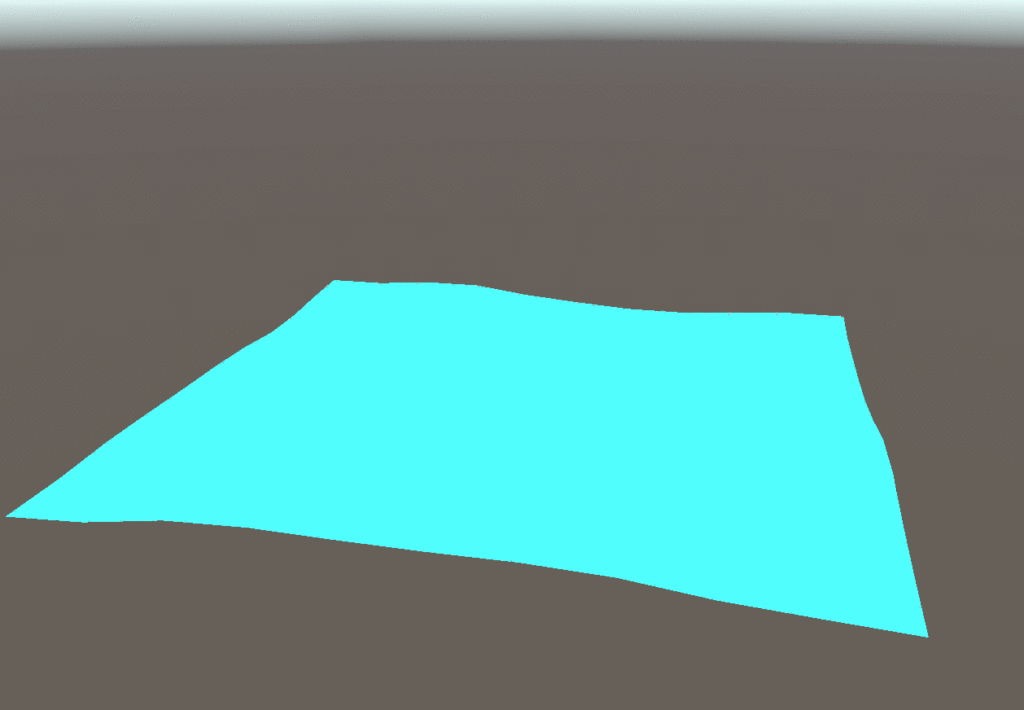
And you’re done! If you test and add your own settings, you will obtain a nice result. It is a simple shader to have a simple water effect.
Here is the final graph :
Download
You can download the shader just here . It will ony contain the shader and not other stuff like a scene.
